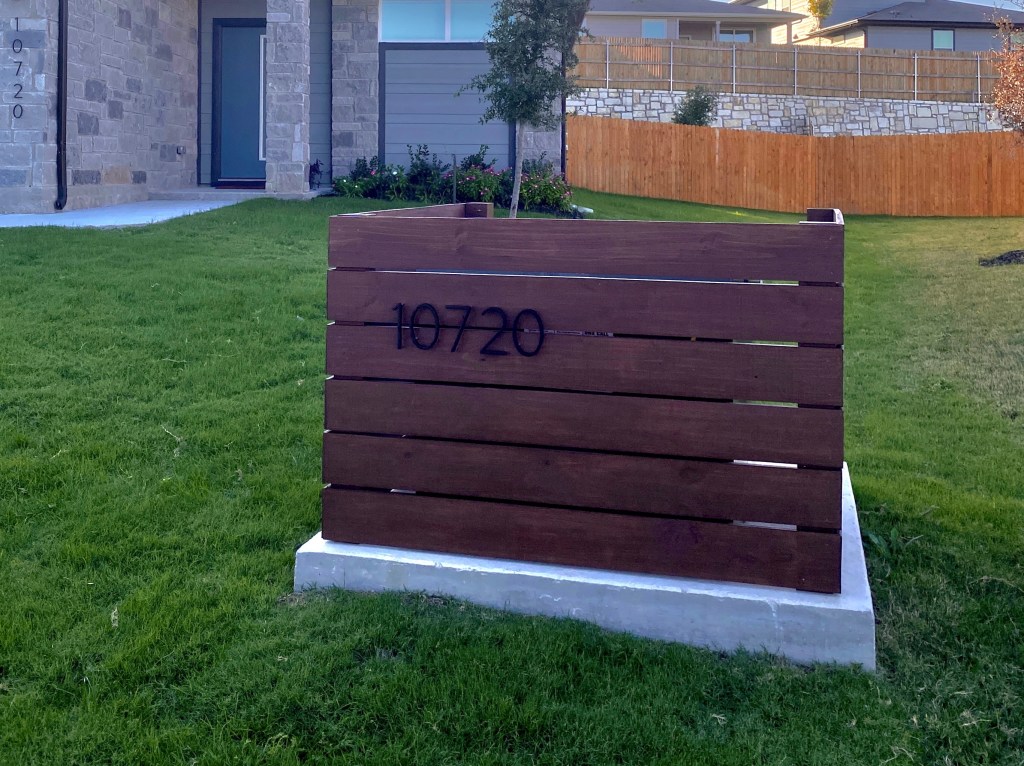
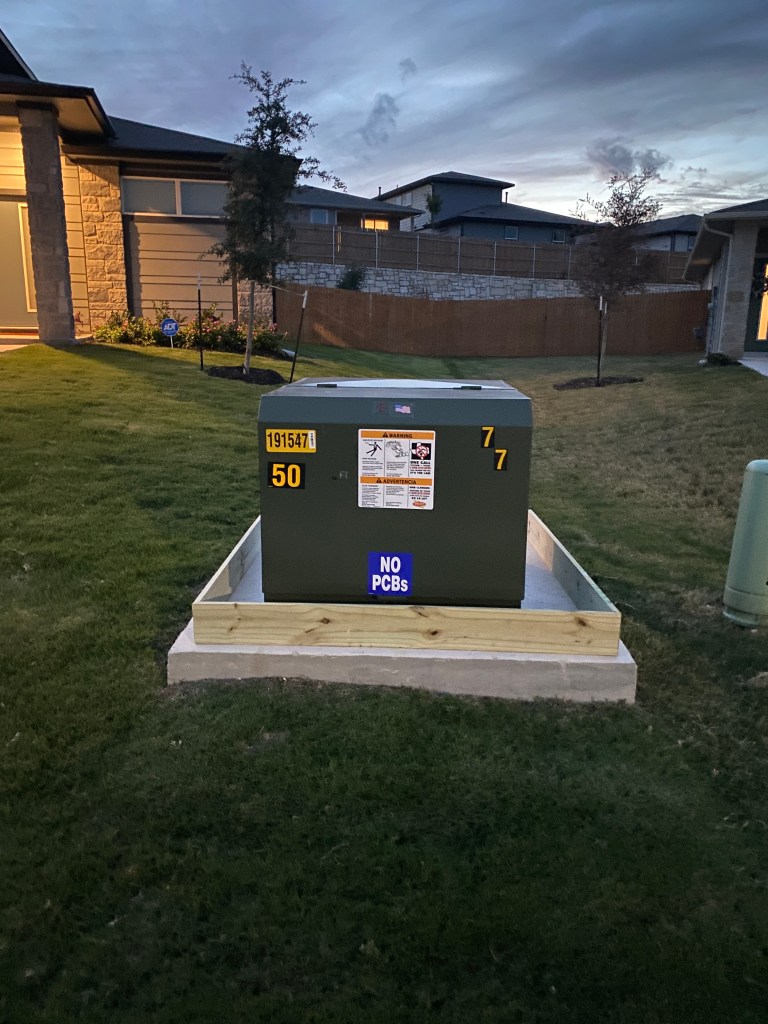
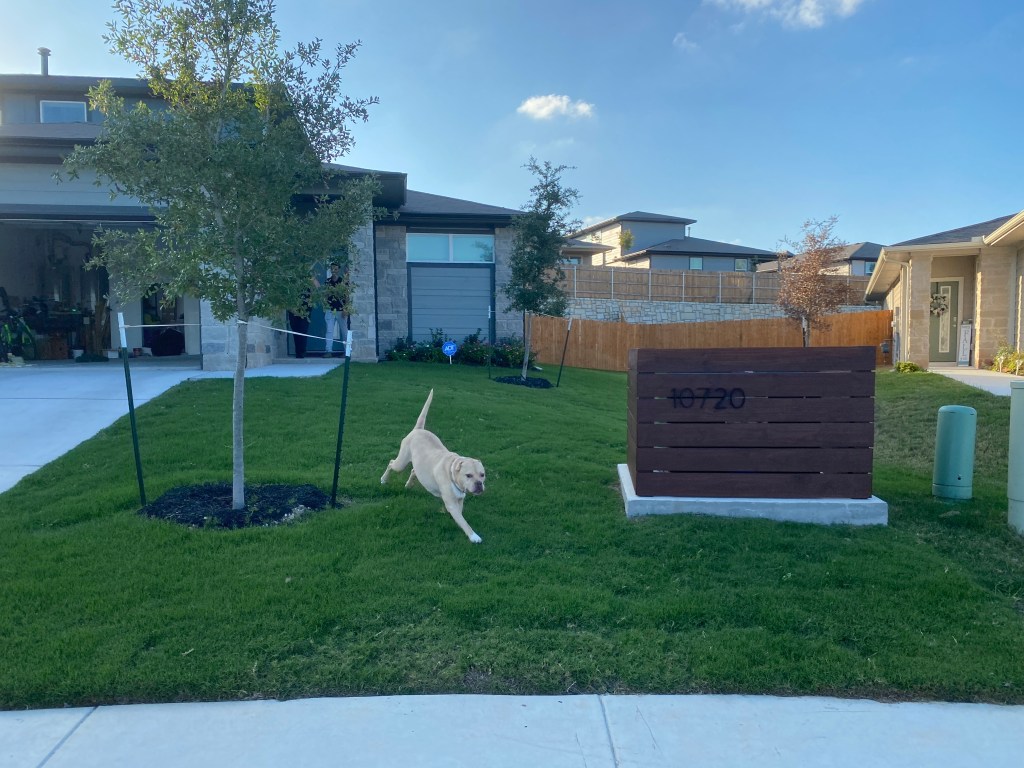
I hated that the first thing you saw when you pulled up to our house was the big green electrical transformer box in our front yard. I drafted several designs and decided this is the most attractive and compliant for where we live.
DISCLAIMER: The cover is 3 sided and can be picked up and moved if they ever need to access the box. It has been up for over a year and I have not had issues with the city or HOA. Remember to follow local code and always call before you dig in your yard if you sink posts.
SUPPLIES
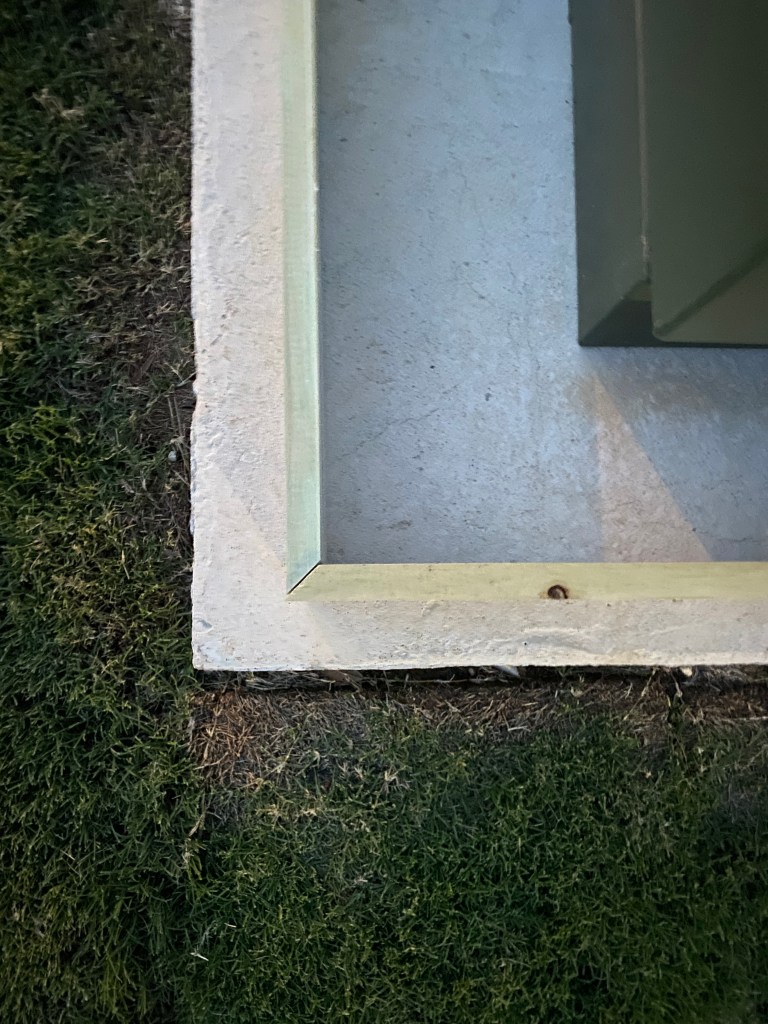
- Pressure treated 4x4s and 1×6 boards
- I bought 2 4in x 4in x 10ft boards and 9 1in x 6in x 8ft boards
- Disclaimer: wear a mask while cutting and sanding pressure treated lumber
- Valspar semi transparent stain and sealer tinted “rusticana” from Lowe’s – get it tinted at the paint counter or buy a pre-tinted outdoor stain of your choice
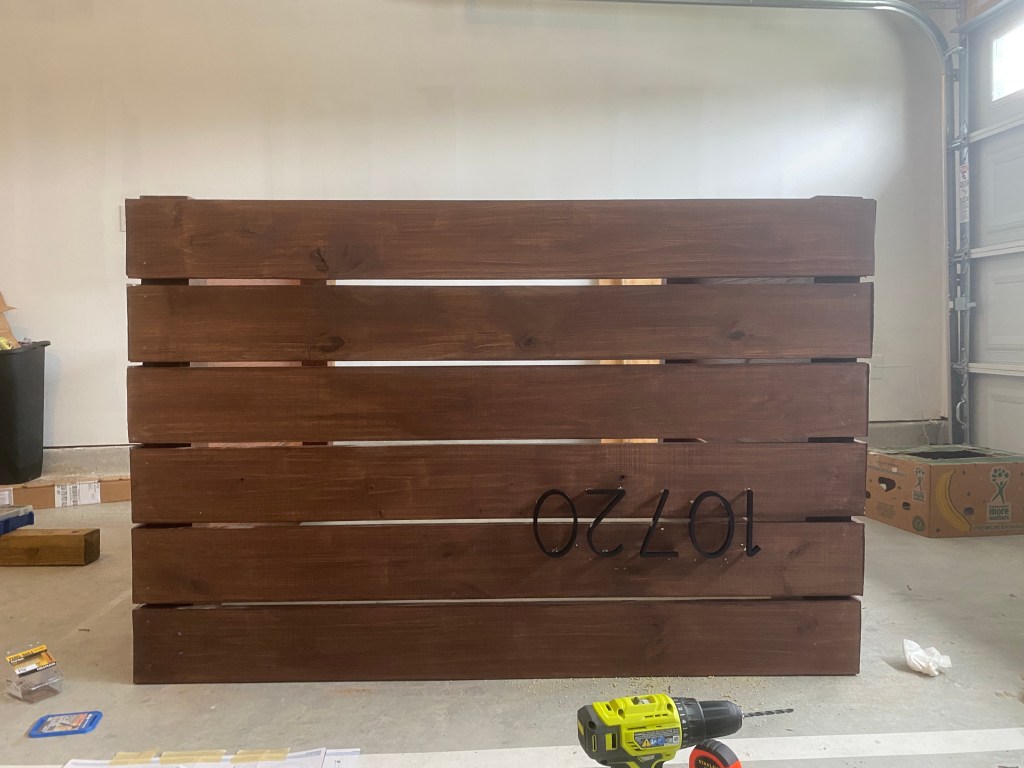
- House numbers from Lowe’s
- Nails or screws (for outdoor use)
TOOLS
- Miter saw
- Sander
- Hammer OR nail gun OR power drill (I nailed these in by hand but would use my nailgun if I did it again)
STEPS
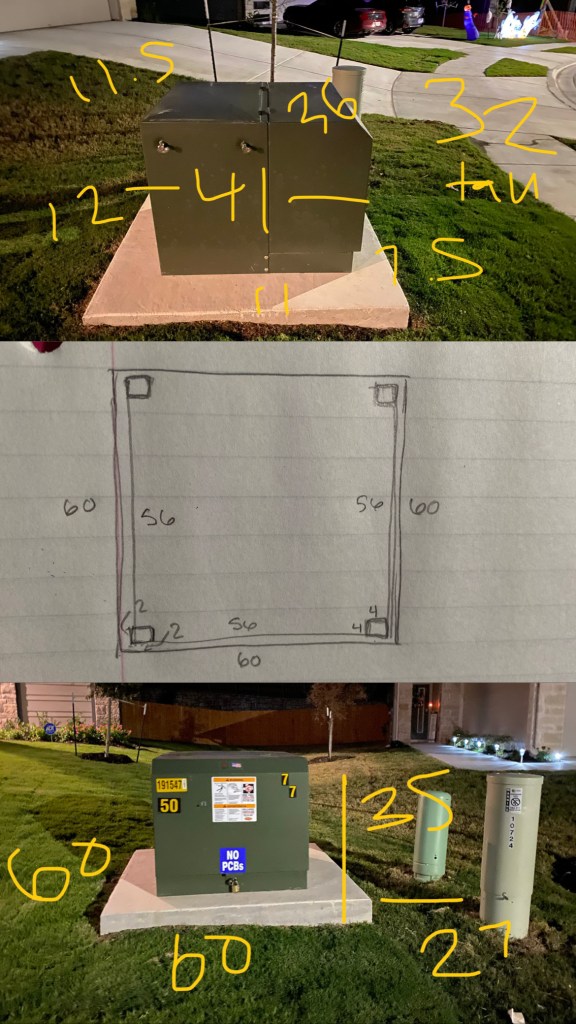
- Measure and draw your plan and make a cut list for your lumber
- Buy supplies
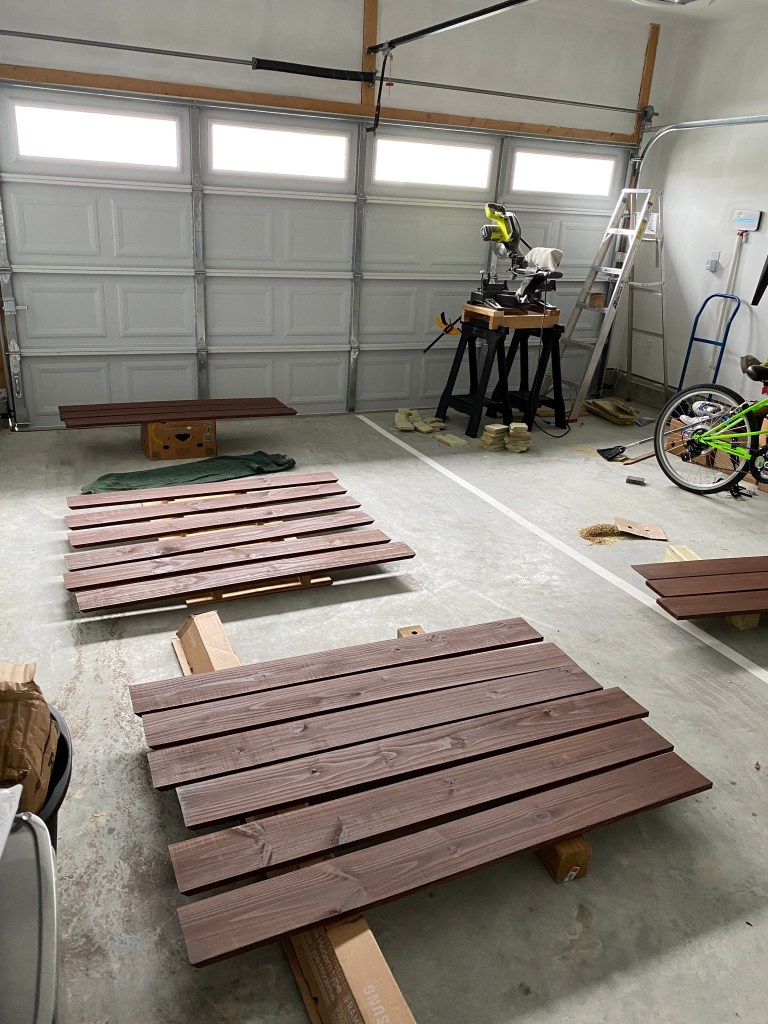
- Cut boards to size (mitered corners optional). Wear a mask when cutting and sanding pressure treated lumber.
- Sand boards (optional)
- Stain/seal
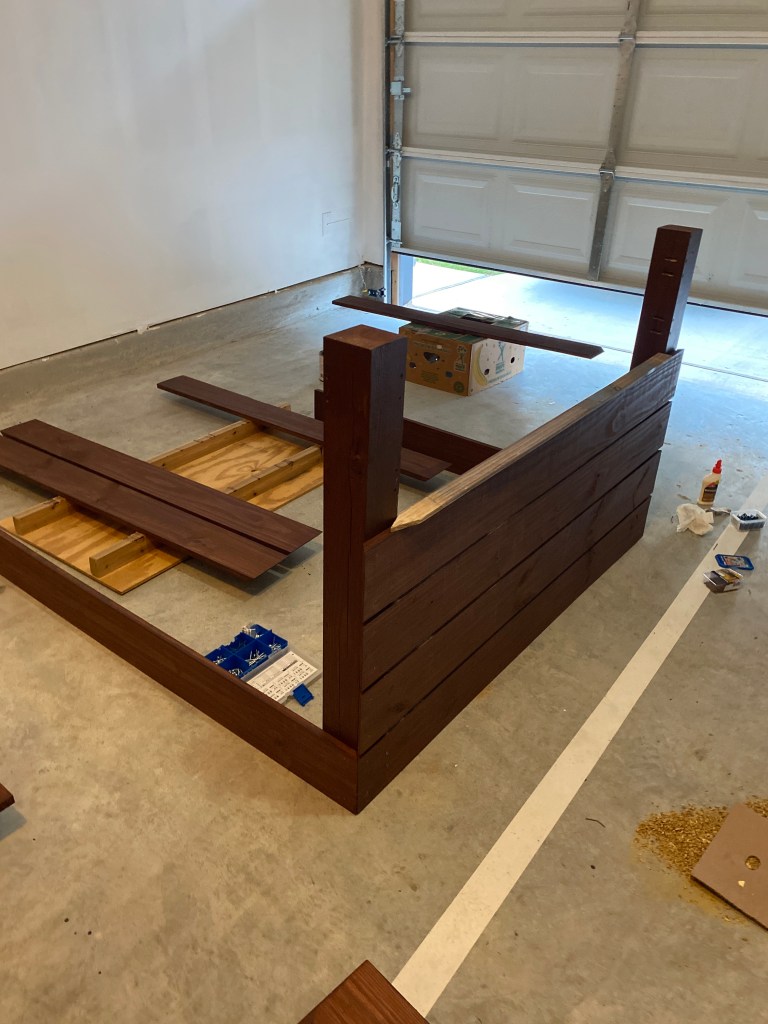
- Assemble with nails or screws (I assembled mine upside down to use the ground to make the top even. Use a spacer to get the gaps even.)
- Add numbers. Glue for extra security.

Do you know to “call before you dig”? Hitting a buried line while digging can disrupt utility service, cost money to repair, or cause serious injury or death. My first design involved sinking posts and hinges and a latch. The design I went with looks better from the sides and I was happy to avoid sinking posts.

FAILS
I tried to attach the 1x6s to 4x4s with pocket holes. It worked when I tested so I drilled dozens of holes and when I started assembling the screws came through. I nailed all the boards in by hand because I didn’t have a nail gun yet. I think it would’ve looked just as good from afar to screw them in.
